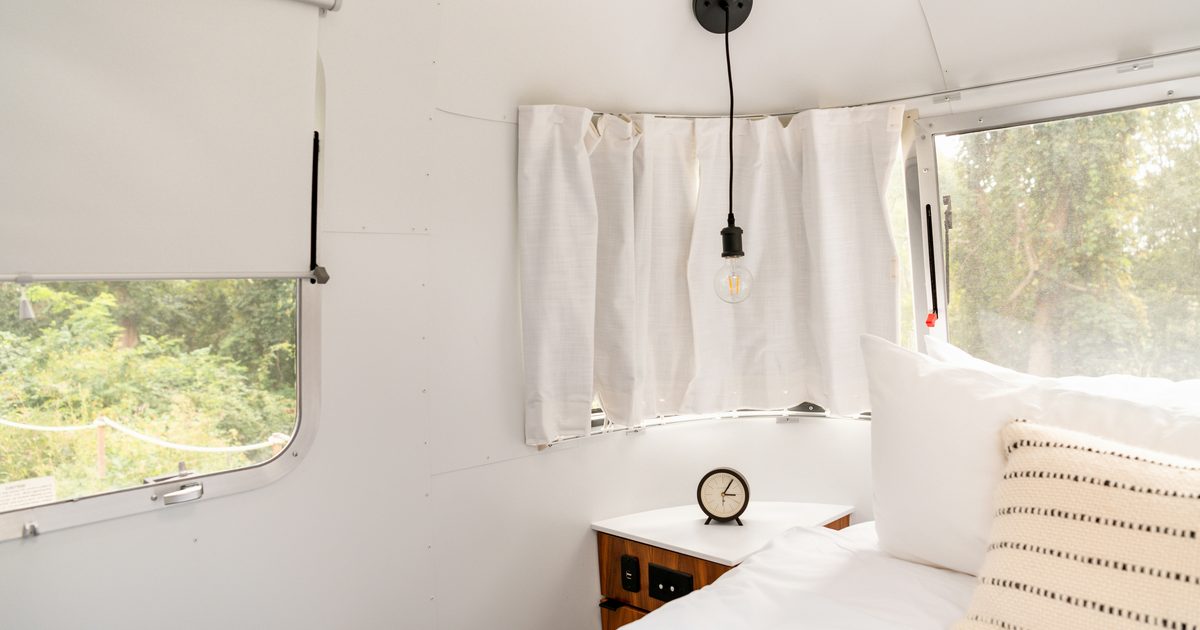

RV walls are usually one of two things. Plain white, or covered in a dated border print from twenty years ago. Neither one does much for a space that small.
Peel and stick wallpaper is the easy fix. It goes up in a day, costs under a hundred dollars for most rigs, and peels back off when the look gets old.
These seven makeovers show how it really goes. The long ones leave every mistake in. The short ones cut straight to the finished walls.
Full Camper Wallpaper Makeovers
1. Shiplap Walls With None of the Weight
Our Little Nest gave a 1979 camper a new bedroom using peel and stick shiplap wallpaper from Target. Three rolls ran about 35 dollars each. Real shiplap would add serious weight to a camper, so the paper version makes far more sense on wheels.
The hard parts are left in, which is what makes this one useful. Corners were the real fight, because a straight line pattern never agrees with camper walls that are not quite square. Saving every scrap is what saved the job, since small patches cut in later blend so well that nobody spots them.
One tip is worth stealing on its own. A dab of Gorilla Glue on a cotton swab locks down any edge that starts to lift, which matters most in a room that gets steamy.
Best for: anyone who wants a farmhouse look without adding weight to the rig.
2. A Tiny RV Bathroom Gets New Walls
The bathroom is the hardest room in any camper to paper, and this one proves it. Workin’ for the Wild used a Stacy Garcia Home print ordered from Home Depot. The first try failed because extra spray adhesive went on the wall, and the glue showed right through the paper as bumps.
Sanding it off and starting over worked fine. A thin flat scrap of wood did the job of a store bought smoothing tool, and a sharp blade handled the cuts around outlets and switches. Once the method clicked, a full wall took about twenty minutes.
The mirror was the real headache. It would not come off the wall, so the paper had to go around it in small matched pieces. The lesson was to take fixtures like that down before starting.
Best for: anyone doing a small bathroom who wants to see the mistakes before making them.
3. Two Accent Walls in a Keystone Ultralight
Sarah Korus gave a 2017 Keystone ultralight a facelift with two rolls of wallpaper from Amazon. The panels are about 20 inches wide, and every piece got cut to length before she climbed into the tight bedroom. She also popped off a pressboard strip covering a wall seam rather than papering over the bump.
The method here is the part to copy. Peel back only a few inches of the backing, get the top corner flush and straight, then peel and smooth a little at a time. Pull too hard and the paper stretches, which shows up later as panels that will not line up.
She also skipped the bottom ten inches behind the bed. The mattress covers it, so nobody will ever see it. That saved most of a roll.
Best for: first timers who want a slow careful walkthrough of the actual technique.
Fast Wallpaper Wins Under a Minute
4. The Two Person Trick That Kills Bubbles
One short clip, one genuinely useful tip. Liz Fenwick says to grab a second pair of hands for this job. One person keeps the sheet straight at the top while the other smooths the bubbles out.
She also points out that the whole product is renter friendly. The same logic applies to a camper headed for a trade in someday.
5. Six Months of Hunting for the Right Print
Full Time Trio spent six of their first eight months on the road looking for the right wallpaper. The dining space was the target, and nothing on the shelf felt right. The print they finally landed on came from Spoonflower.
It is a good reminder that the pattern matters more than the install. A camper has very little wall space, so whatever goes up gets looked at every single day.
6. Wallpaper Going Up All Over a Toy Hauler
Kidgital Nomads papered several spots in a Grand Design Momentum at once. The walls got done before the new furniture arrived, which is exactly the right order.
Trying to paper behind a sofa that is already in place is a bad time. If new furniture is coming, do the walls first.
7. A Family Rig Gets a Fresh Wall
Crazy Family Adventure keeps this one simple. It is wallpaper going up in a family RV, start to finish, in about thirty seconds.
Short clips like this are good for one thing. Seeing how much a single wall changes a space before giving up a whole weekend to it.
What All These Makeovers Have in Common
Prep the wall first. Clean it, fill the holes, and sand it smooth. If the wall was just painted, let it cure fully before anything sticky touches it.
Skip the extra adhesive. The paper is already sticky enough, and added glue bleeds through as bumps and shadows.
Camper walls are never straight. The pattern will look slanted even when it is lined up perfectly at the ceiling. That is the rig, not the paper.
Take fixtures off the wall when possible. Mirrors, towel bars, and switch plates are far easier to remove than to cut around.
Buy more than the math says. Rolls often come from different production lots, and extra scraps are what patches the corners later.
Wallpaper is one of the cheapest ways to make an old camper feel like somebody actually lives there. Start with one wall. It is hard to stop after that.