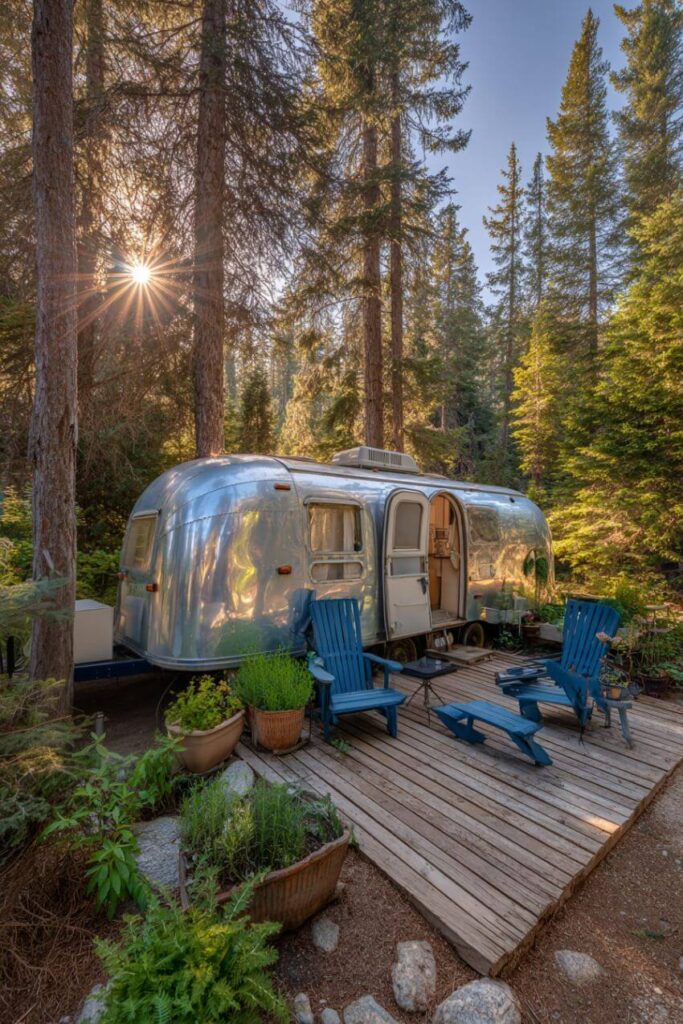
Getting tired of stepping directly from your RV into dirt or gravel? Adding a deck to your RV setup can make a huge difference in how much you enjoy your outdoor time. Whether you’re parked for a weekend or staying put for months, a good deck gives you a clean, comfortable space to relax, eat meals, and hang out with family and friends.
RV decks come in all shapes and sizes. Some are simple platforms that take just minutes to set up, while others are elaborate multi-level structures that look like they belong on a fancy house. The key is picking the right type for your camping style and budget.

Types of RV Decks
The type of deck you choose depends mainly on how often you move your RV and how much you want to invest. Each type has its own advantages and works better for different camping styles.


Portable Decks
Portable decks are perfect for people who move their RV frequently. These decks can be set up in about 15 to 30 minutes and packed away just as quickly when it’s time to hit the road.
Most portable decks break down into sections that fit in your RV storage compartments or truck bed. They usually weigh between 20 to 50 pounds per section, so one or two people can handle them easily.

Popular Commercial Options:
Sunrise Decks are custom-built portable decks that have been around since 2008. They can hold up to 600 pounds and have adjustable legs that work great on uneven ground. The downside? Current lead times are 8 to 10 weeks due to high demand, and they cost significantly more than DIY options.
Travel Easy Decks use a modular system where you buy individual sections and connect them together. Each section costs about $45, and legs cost roughly $7 each. You can start small and add more sections as your budget allows.
Port-A-Deck models collapse completely flat for storage. They come in 36 by 48 inch and 48 by 48 inch sizes, with height adjustment from 24 to 40 inches.
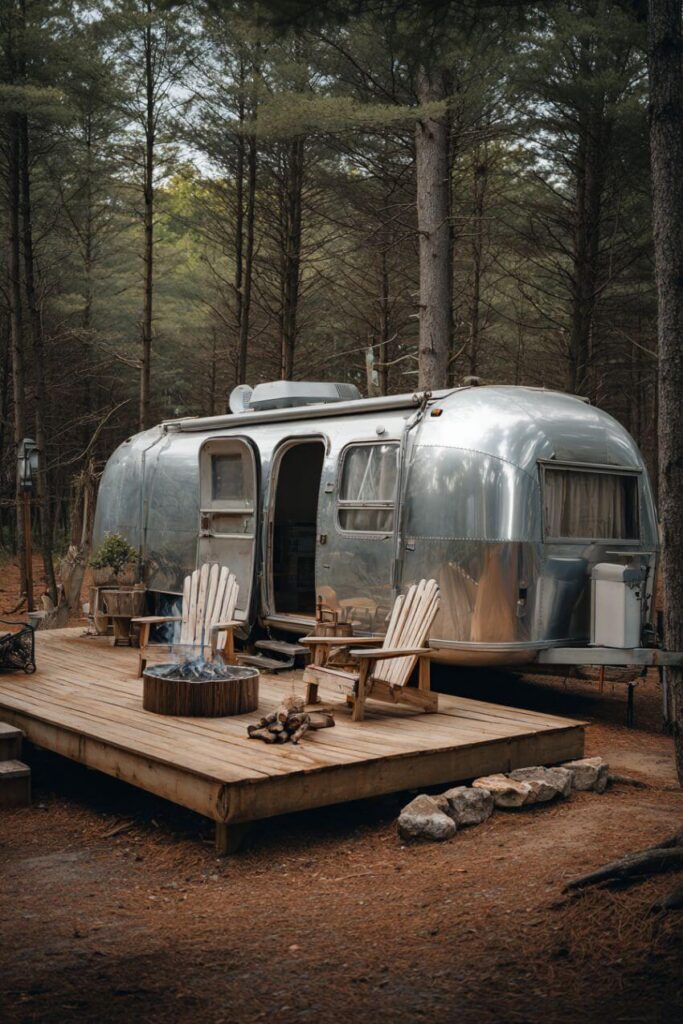
Permanent Decks
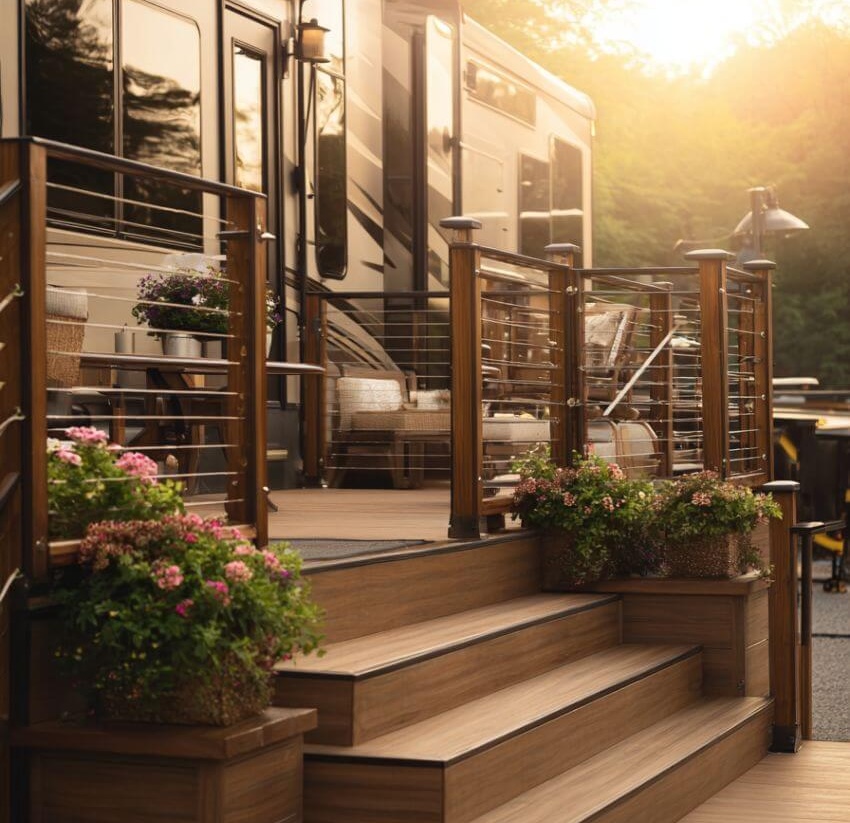
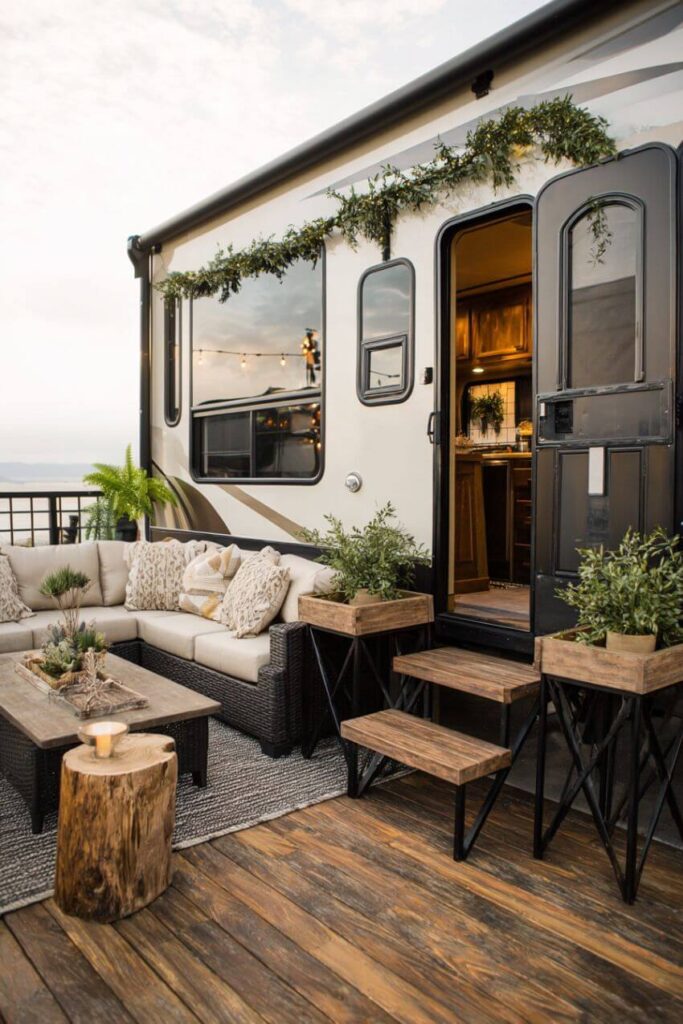
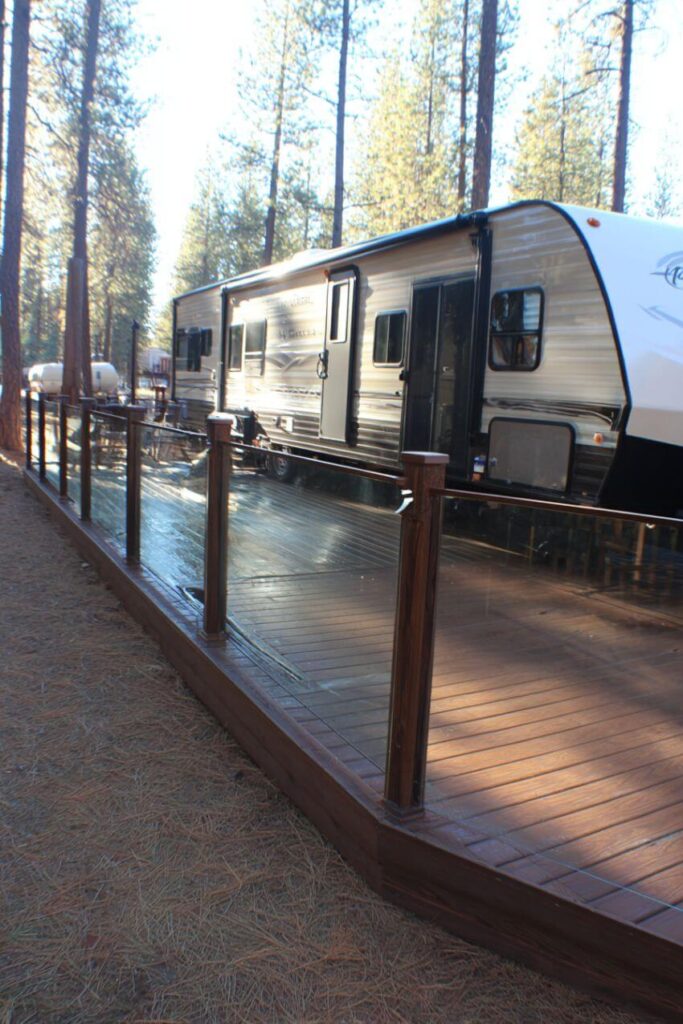
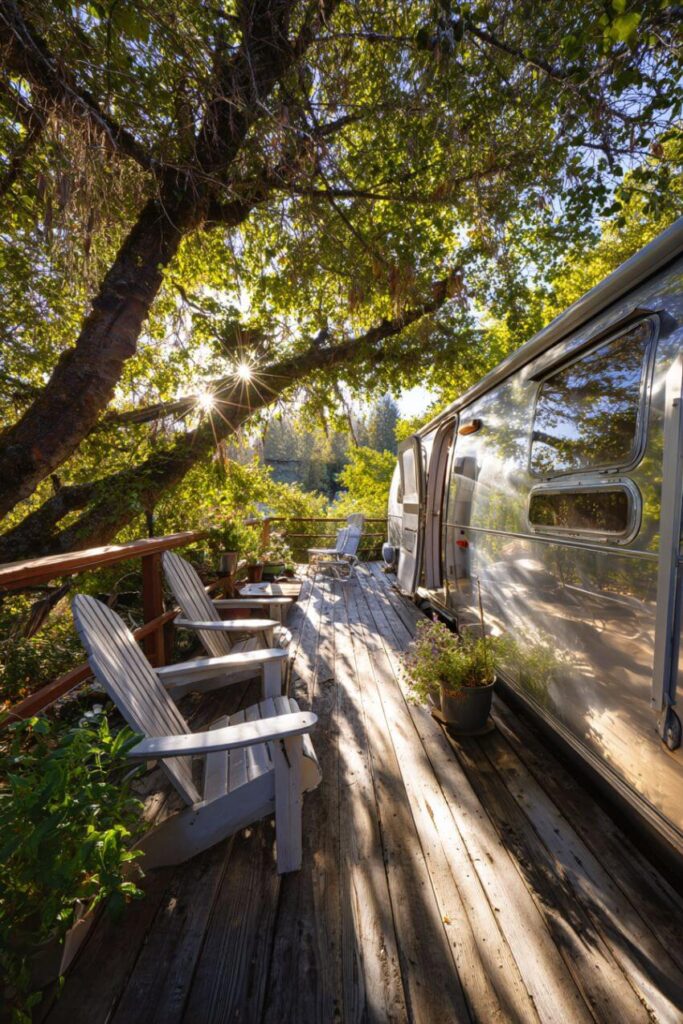
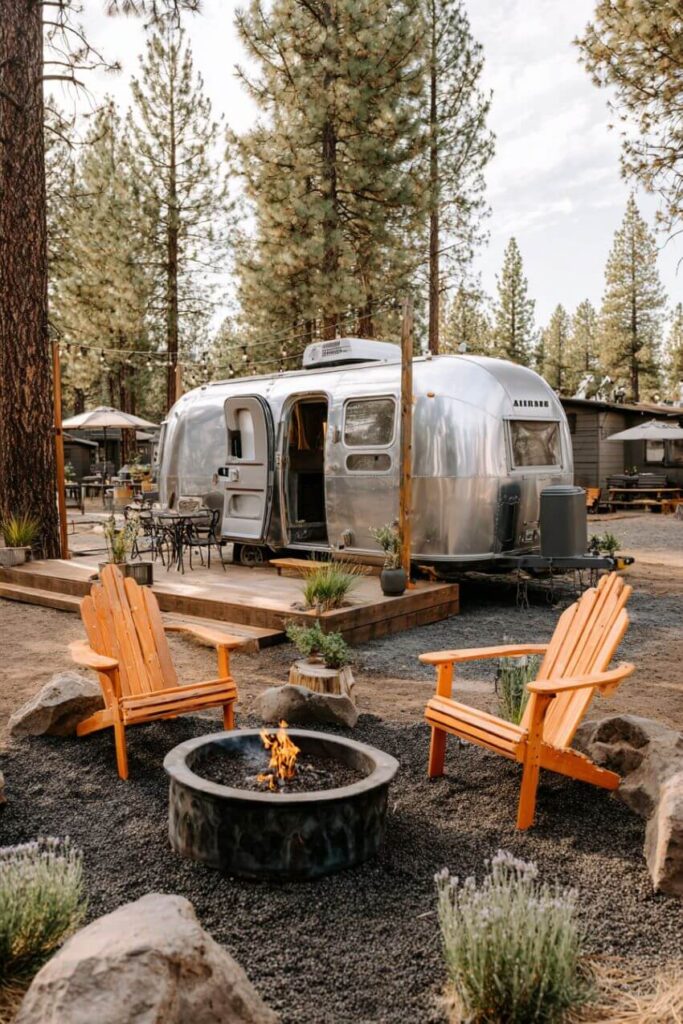
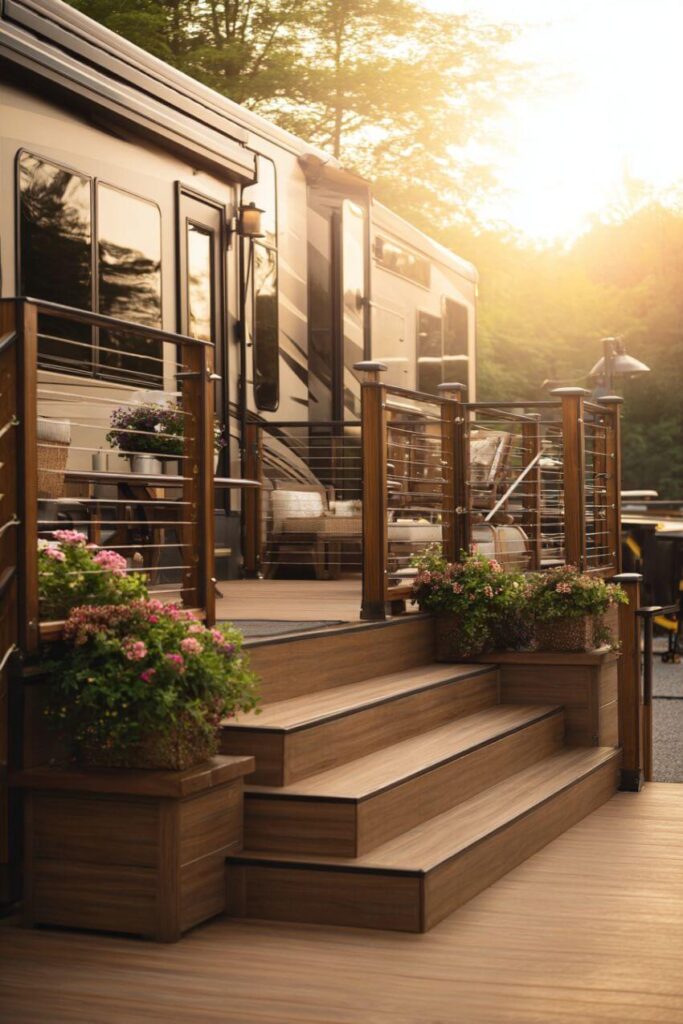
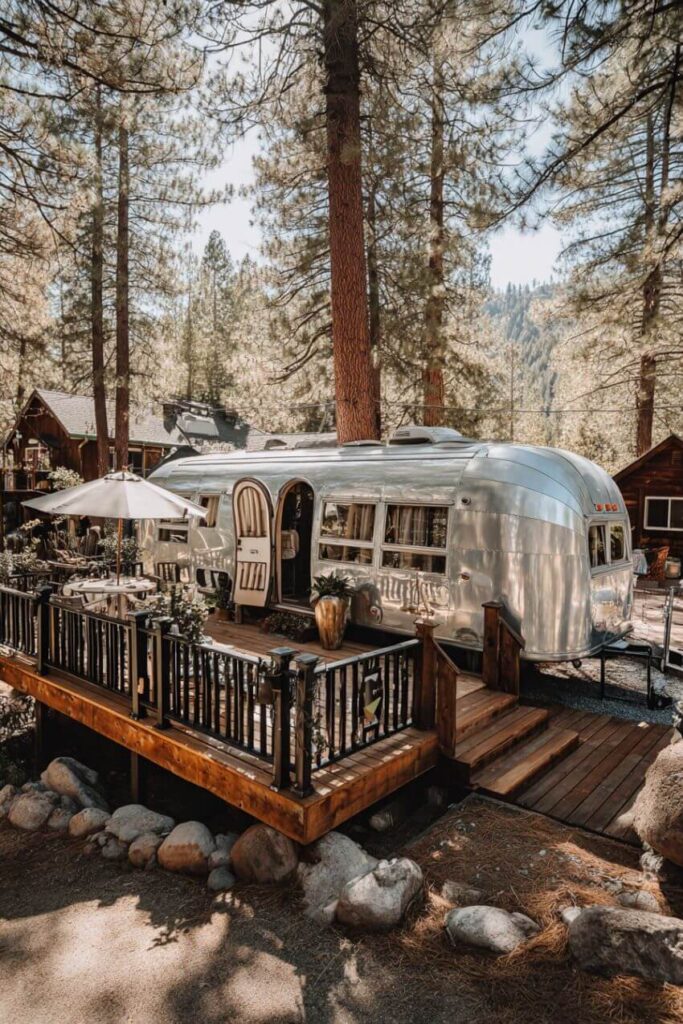
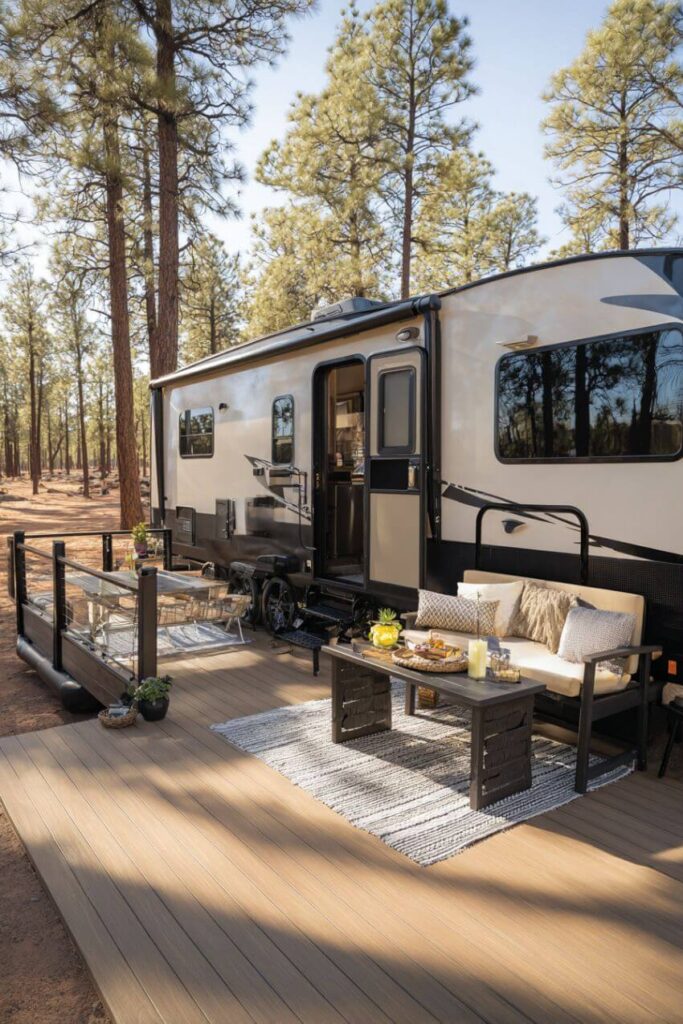
Permanent decks make sense when your RV stays in one place for months or years. These can be much larger and more elaborate than portable options. You’ll see permanent decks at seasonal campsites that look like real house decks, complete with railings, multiple levels, and even roofs.
Some of the most impressive permanent RV decks include multi-level designs with covered sections, outdoor showers, and built-in storage. These decks can span the entire length of a travel trailer and beyond.
The main benefit of permanent decks is that you can go all out with features and size. The downside is the higher cost and the fact that you can’t take them with you if you move.
Toy Hauler Ramp Decks
If you have a toy hauler, you already have a deck built in. The rear loading ramp doubles as a deck space once you unload your toys. Many toy hauler owners set up chairs, tables, and even grills on their ramps.
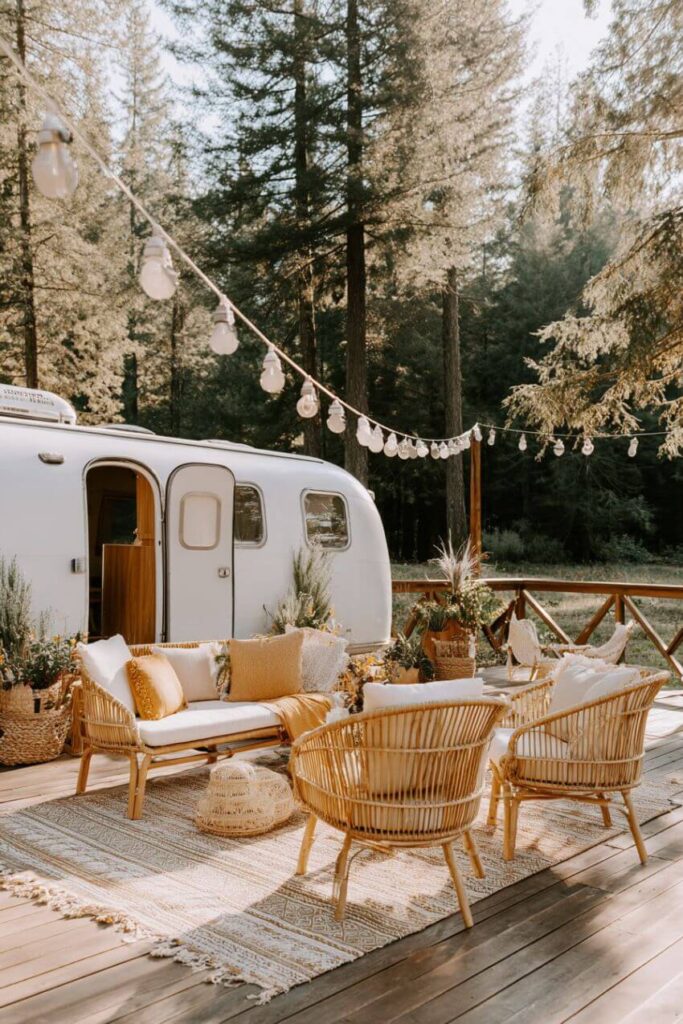
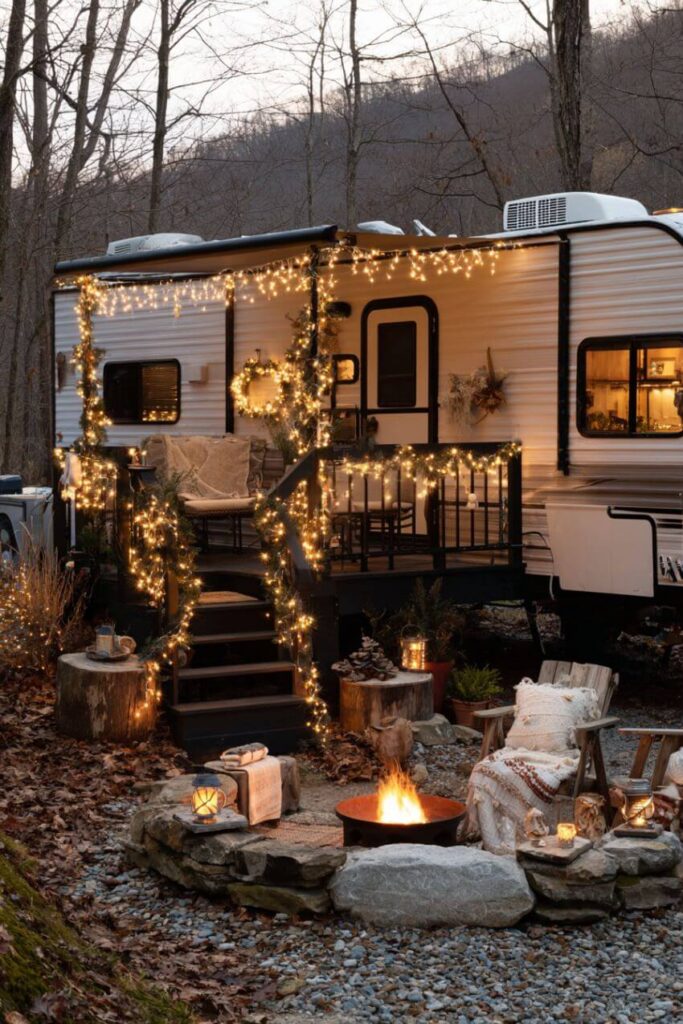
The trick with ramp decks is making them comfortable. Adding a patio mat, some outdoor furniture, and maybe string lights can turn that metal ramp into a cozy outdoor room.
Materials and Costs
Choosing the right materials depends on your budget, how long you plan to use the deck, and how much maintenance you want to deal with.
Material Options
Pressure-Treated Wood is the most popular choice for RV decks. It costs $25 to $50 per square foot installed, making it affordable for most budgets. Pressure-treated lumber resists rot and insects, but it still needs staining every 2 to 3 years to look good and last long.
The biggest advantage of wood is that it feels natural underfoot and looks good with any RV style. It’s also easy to work with if you’re building the deck yourself.
Composite Decking costs more upfront but saves money over time. Composite decking runs $40 to $80 per square foot installed. Most composite products come with 20 to 25 year warranties and need almost no maintenance.
Composite looks like wood but won’t warp, crack, or fade like real wood does. The main downside is the higher cost and the fact that some composite materials can get slippery when wet.
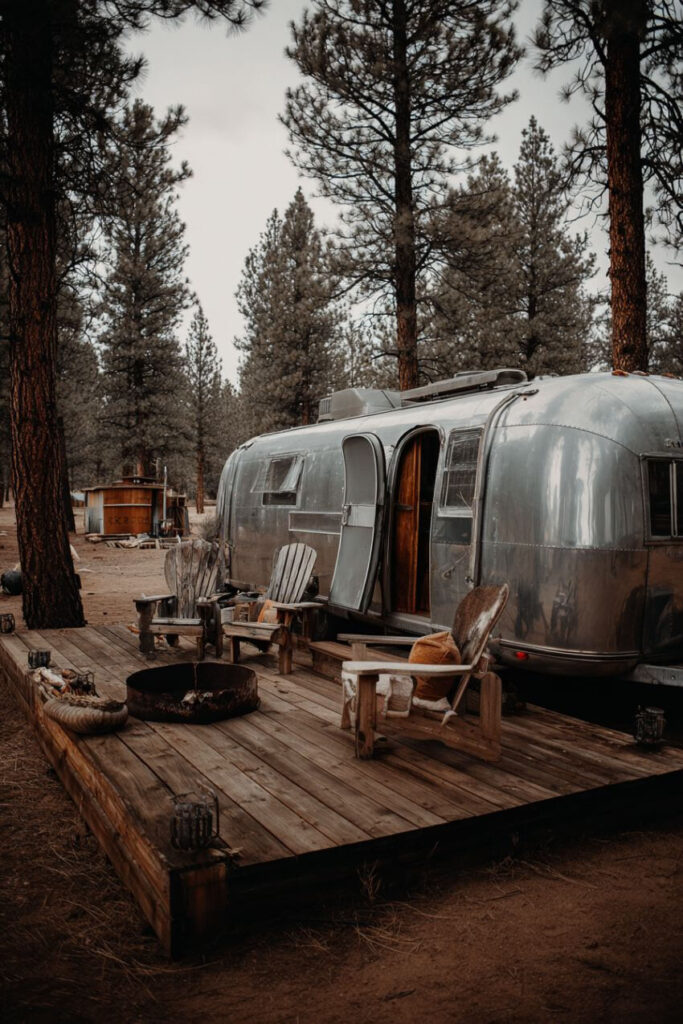
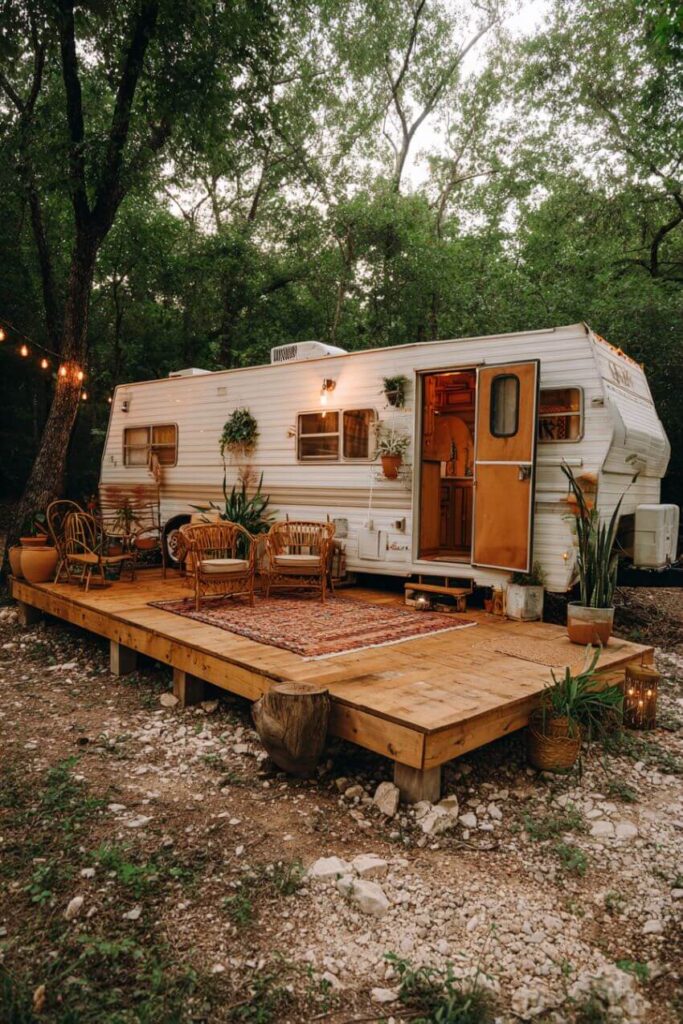
Budget Options work great for temporary setups or when money is tight. Simple decks built with basic materials cost around $15 per square foot. Some RVers build decent decks using free pallets and a sheet of plywood. Interlocking deck tiles provide another affordable option, especially for small spaces.
Foundation Systems
Deck Blocks are the easiest way to support a deck. These concrete blocks have slots built in for your support boards. You just level the ground, place the blocks, and start building. No digging, no concrete, no tools needed for the foundation.
Concrete Piers work better for permanent decks. They cost more and take more work to install, but they provide a rock-solid foundation that will last for decades.
Modular Systems use special connectors that let you take the deck apart without tools. Many RVers build their decks in 4 by 8 foot sections that bolt together. When it’s time to move, they unbolt the sections and stack them for transport.
DIY Construction
Building your own RV deck isn’t as hard as it might seem. With basic tools and a weekend of work, most people can build a simple but sturdy deck.
Planning Your Build
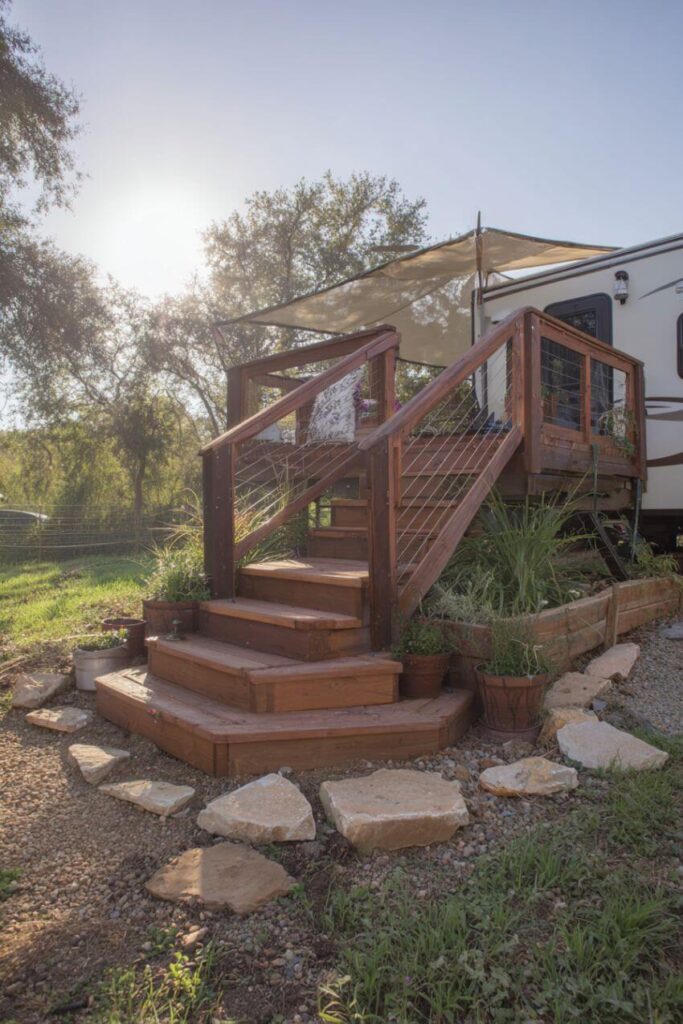
Start by measuring the space where you want the deck. Remember that the narrowest safe stair width is 36 inches, so plan accordingly if you need stairs.
Check with your campground about any rules or restrictions. Some places limit deck size or require approval before you build anything. It’s much easier to get permission first than to tear down a deck later.
Make a simple sketch and figure out how much lumber you’ll need. One smart builder made his deck 32 feet long because he could buy 16-foot boards and minimize waste.
Basic Construction Steps
Step 1: Site Preparation Level the ground where your deck will sit. You don’t need it perfectly flat, but get rid of any big bumps or holes. Clear away rocks, sticks, and other debris.
Step 2: Foundation Place your deck blocks or piers according to your plan. For floating decks, you don’t always need footings below the frost line. Space the supports no more than 8 feet apart for a sturdy deck.
Step 3: Frame Construction Build your frame using 2×6 or 2×8 lumber. Most builders use 2×6 boards for the frame and place them 16 inches apart. This provides plenty of strength for normal use.
Connect the frame boards with 3-inch deck screws or galvanized nails. Make sure screws go in straight to keep the frame rigid.
Step 4: Decking Installation Install your deck boards perpendicular to the frame. Leave small gaps between boards so water can drain and the wood can expand and contract. Use 2.5-inch deck screws to attach each board to the frame.
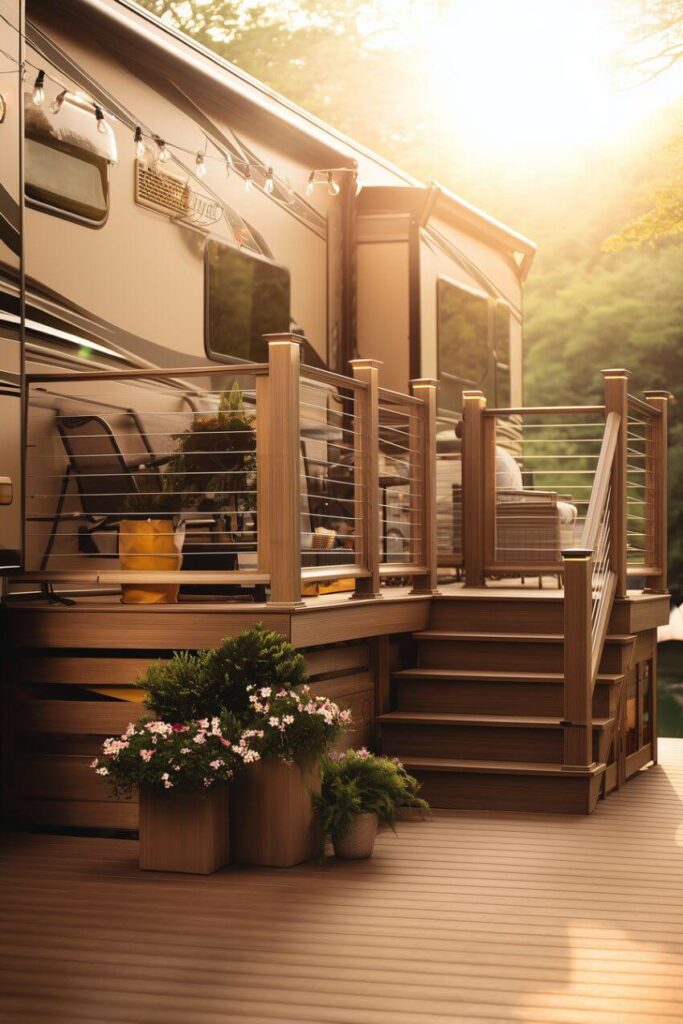
Step 5: Safety Features Add railings if your deck is more than 30 inches off the ground. Most building codes require railings at this height. Build stairs if needed, making sure they’re wide enough and have a good handrail.
Portable Assembly Tips
For portable decks, build everything in sections that you can move easily. Many RVers use 4 by 8 foot sections because they fit in a truck bed and two people can handle them.
Use bolts instead of screws for connections between sections. This lets you take the deck apart without damaging anything. Some builders estimate it takes about 15 minutes to take apart the connection and 15 to 30 minutes to put it back together.
Think about storage when you design your portable deck. Make sure the sections will fit in your truck, trailer, or RV storage compartments.
Design Ideas
Even a basic deck can be made more useful and attractive with some thoughtful design choices. The key is picking features that match how you plan to use your outdoor space.
Small Space Solutions
Not every RV setup has room for a huge deck. Luckily, even a small deck can make a big difference in your outdoor comfort.
The standard portable deck platform starts at 45 by 45 inches, which provides enough room for a chair or two and a small table. This size works great as an entry deck that keeps you out of the dirt when you’re going in and out of your RV.
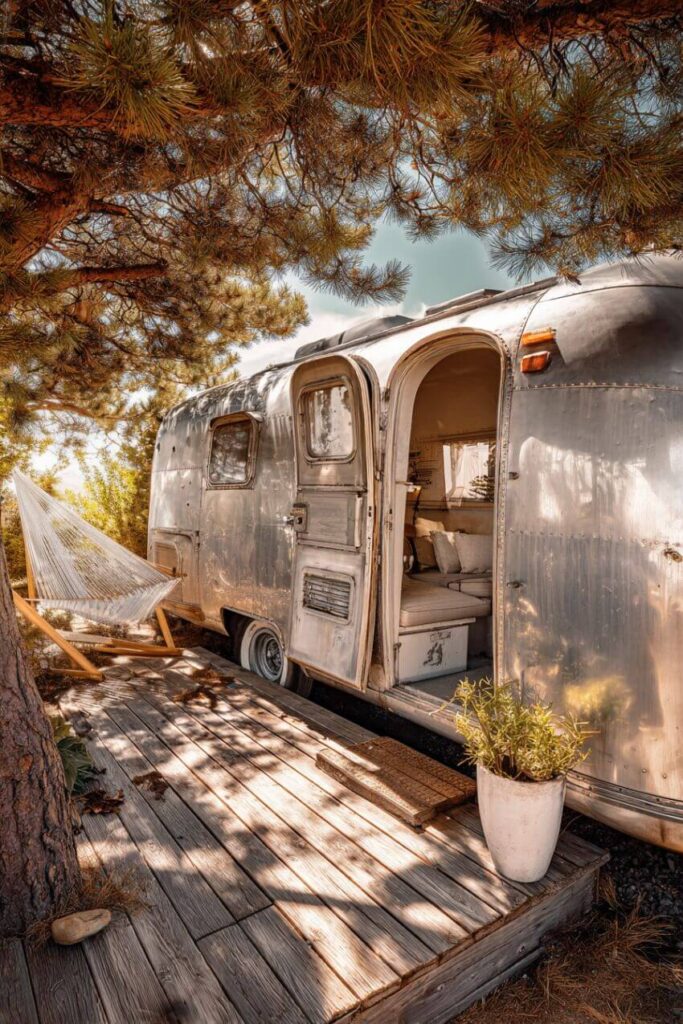
L-Shaped Configurations work well when you have limited width but more length to work with. Some builders create L-shaped decks that wrap around the corner of their RV.
Integration with RV Steps can make your existing steps more stable and useful. Some clever builders design their decks to go underneath their RV steps, which helps stop the RV from swaying and makes everything quieter.
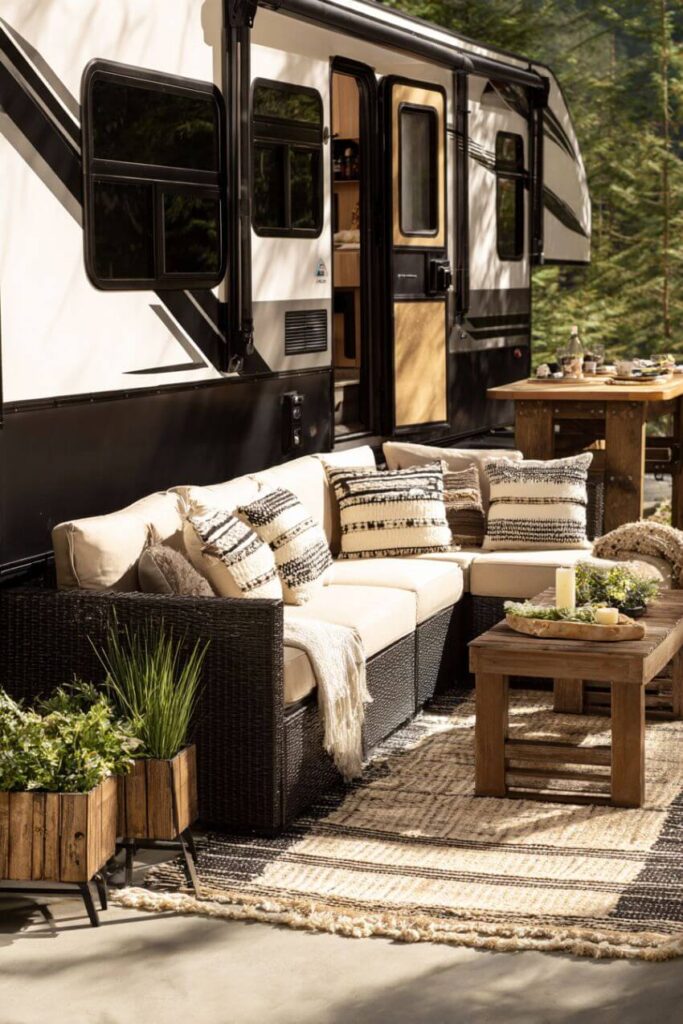
Popular Features
Built-in Storage turns dead space under your deck into useful storage. You can store chairs, tables, grills, and other gear under there when you’re not using them. Just make sure to use weather-resistant storage containers.
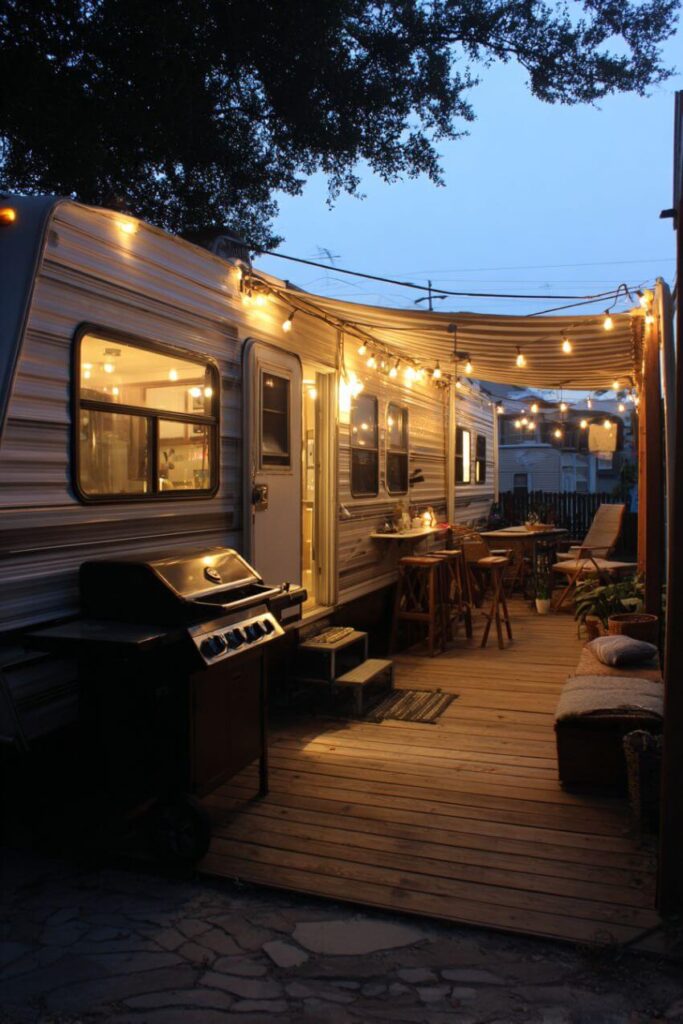
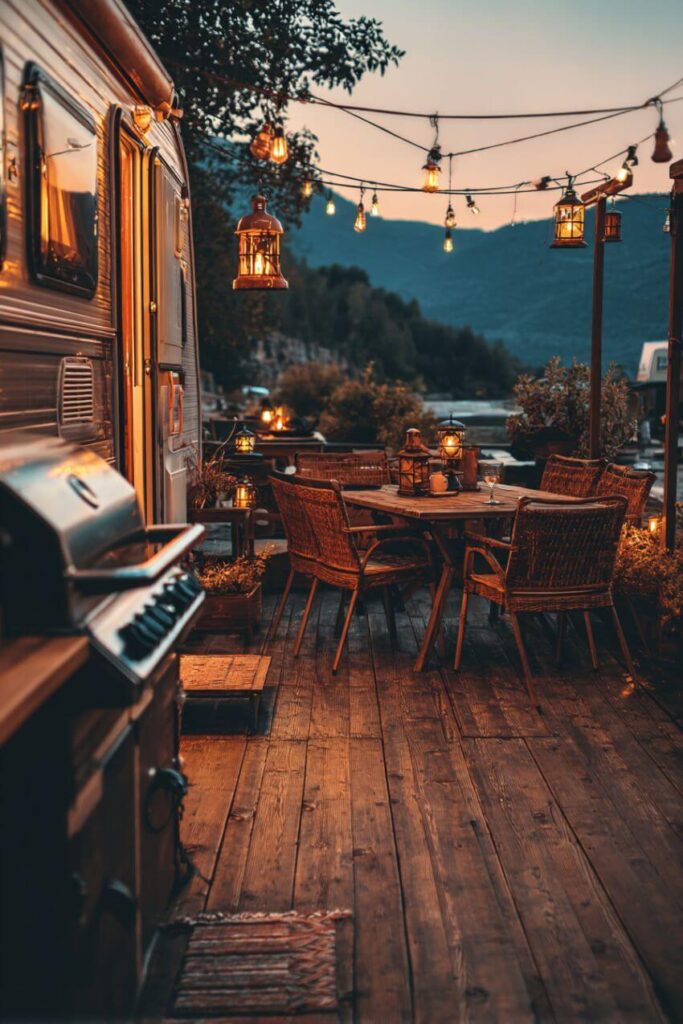
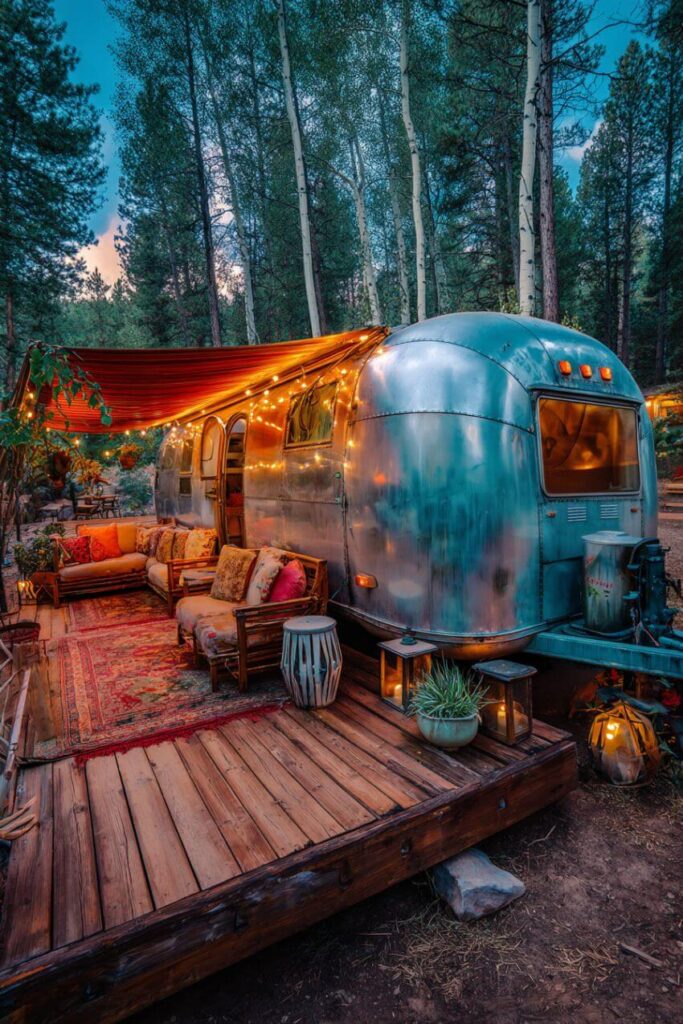
Outdoor Lighting extends your deck time into the evening. String lights are popular because they’re easy to install and create a cozy atmosphere. Some elaborate decks even include chandeliers, though that might be overkill for most RVers.
Privacy Screens help when your RV is close to neighbors. You can use lattice panels, outdoor curtains, or even tall plants to create some privacy around your deck.
Non-slip surfaces are important for safety. Wood naturally provides good slip resistance, while some composite materials don’t perform as well when wet. Outdoor area rugs can help reduce slips and add comfort.
Safety and Maintenance
A well-built deck should provide years of safe use with basic maintenance. Following some simple safety guidelines and keeping up with routine care will protect your investment and prevent accidents.
Safety Essentials
Weight Capacity is the first thing to consider. Most single-section portable decks can hold up to 600 pounds, which is plenty for normal use. But if you’re planning to put a hot tub or heavy furniture on your deck, you’ll need to beef up the support structure.
Slip-Resistant Surfaces prevent accidents, especially when the deck is wet. Wood performs best for slip resistance in both wet and dry conditions. If you use composite or other materials, consider adding texture strips or outdoor rugs in high-traffic areas.
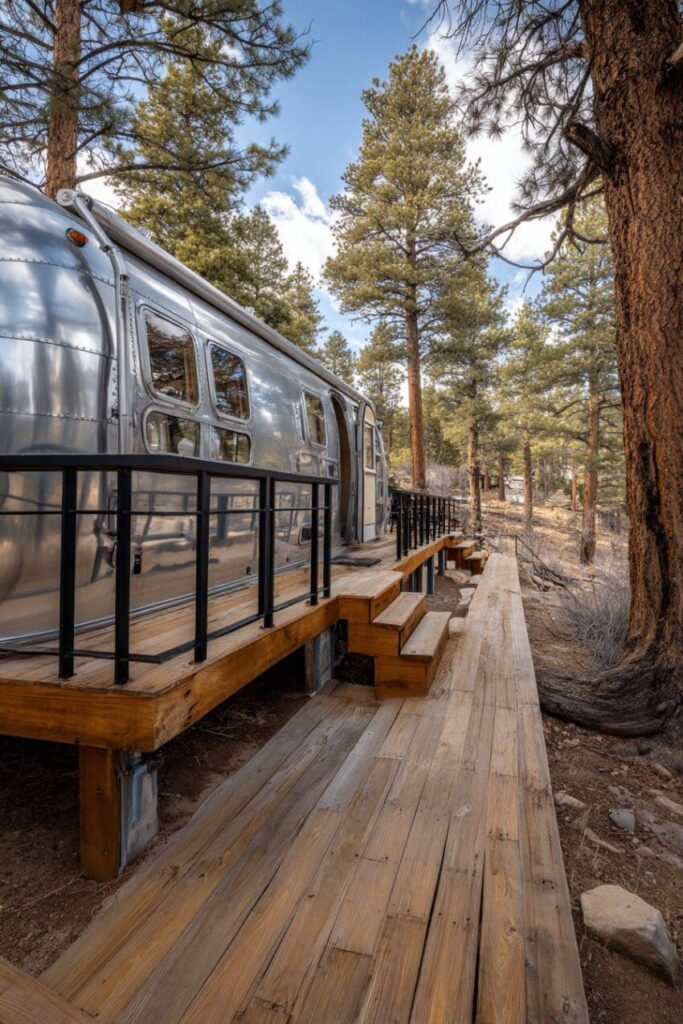
Proper Railing Installation is required by most building codes for decks over 30 inches high. Even if your deck is lower, railings can provide peace of mind and a place to set drinks or lean against.
Make sure railings are solidly attached and can handle someone falling against them. Check that railings aren’t wobbly and tighten or replace fasteners if they’re loose or rusty.
Maintenance Requirements
Annual Inspection should include checking all fasteners, looking for loose boards, and examining the support structure. Deck failures can cause serious injuries, so regular safety checks should be part of routine maintenance.
Cleaning keeps your deck looking good and prevents problems. Clean your deck at least three times per year. Remove leaves and debris first, then wash with soap and water. Avoid pressure washing too often, as it can damage some materials.
Wood Staining should happen every 2 to 3 years for pressure-treated lumber. This protects the wood from moisture, UV rays, and general wear. Skip a year or two and you’ll end up with expensive repairs or replacement.
Hardware Maintenance means checking and tightening bolts, screws, and other connections at least once a year. Vibration from RV movement and weather changes can loosen fasteners over time.
Cost and Planning
Getting a realistic picture of costs and requirements before you start building prevents surprises and helps you make smart decisions. Planning ahead also ensures your deck will meet local rules and work well for your needs.
Budget Examples
Understanding real costs helps you plan your deck project and avoid surprises.
Small Deck (8×10 feet = 80 square feet) Building costs range from $1,500 to $3,000 for basic pressure-treated wood. This size works great as an entry deck or small seating area.
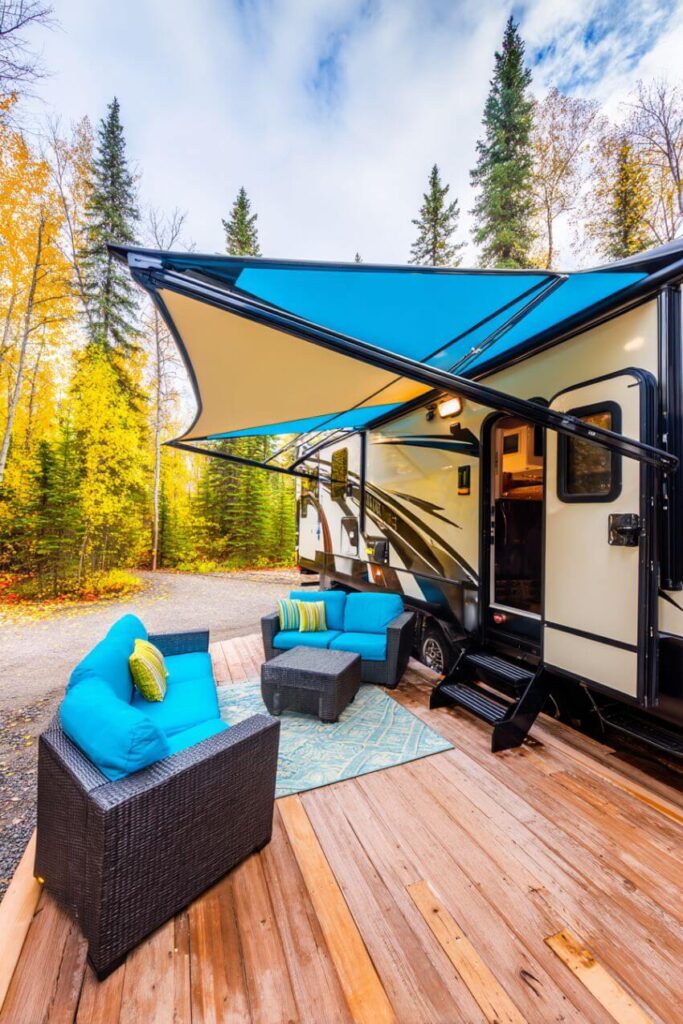
Medium Deck (12×16 feet = 192 square feet) Expect to pay $3,600 to $7,200 for a deck this size. This provides room for outdoor furniture, a small grill, and entertaining space.
DIY Savings Labor typically makes up 60% of the total project cost, so building it yourself can save thousands of dollars. Even if you hire help for the tricky parts, doing the basic assembly yourself cuts costs significantly.
Commercial vs DIY Ready-made portable decks cost more upfront but save time and ensure professional results. A comparable DIY deck might cost half as much but requires your time and basic construction skills.
Money-Saving Tips
Start Small and add sections later. Build a basic entry deck first, then expand it when your budget allows. This lets you spread the cost over time and figure out what features you really want.
Buy Materials Smart by shopping around and watching for sales. Lumber prices change seasonally, and you can often find good deals at the end of summer. Consider buying slightly used materials from contractors or other RVers.
Choose the Right Materials for your situation. Don’t just pick the cheapest option without considering long-term costs. Sometimes spending more upfront saves money over time.
Regulations and Permits
Campground Approval is usually required before building any deck. Most campgrounds have rules about size, materials, and appearance. Some places require the deck to be removable, while others allow permanent structures.
Get written approval before you start building. Rules can change, and you don’t want to tear down a deck because of a misunderstanding.
Building Permits may be required for permanent decks, especially larger ones. Some counties require permits for any new construction over 400 square feet. Check with local authorities if you’re building a permanent deck.
Insurance Considerations matter for both liability and property coverage. A deck adds value to your setup, but it might also change your insurance needs. Check with your insurance company before building a large or permanent deck.
Conclusion
Adding a deck to your RV setup can significantly improve your outdoor living experience. Whether you choose a simple portable platform or an elaborate permanent structure, the right deck makes your RV feel more like home.
Start with a simple design that fits your current needs and budget. You can always expand or upgrade later as you figure out how you actually use the space. The most important thing is to build something safe and sturdy that you’ll actually enjoy using.
Remember that even a basic deck beats stepping into dirt and gravel every time you leave your RV. With some planning and basic construction skills, you can build a deck that will serve you well for years to come.
For materials and professional help, check with local lumber yards, RV dealers, and contractors who understand RV setups. Many RV communities and online forums also provide great advice and inspiration from people who have built their own decks.
The key is to start planning, set a realistic budget, and build something that fits your camping style. Your future self will thank you every time you step out onto a clean, comfortable deck instead of dirt or gravel.